Author: Acgile
Published On: 06-04-2026
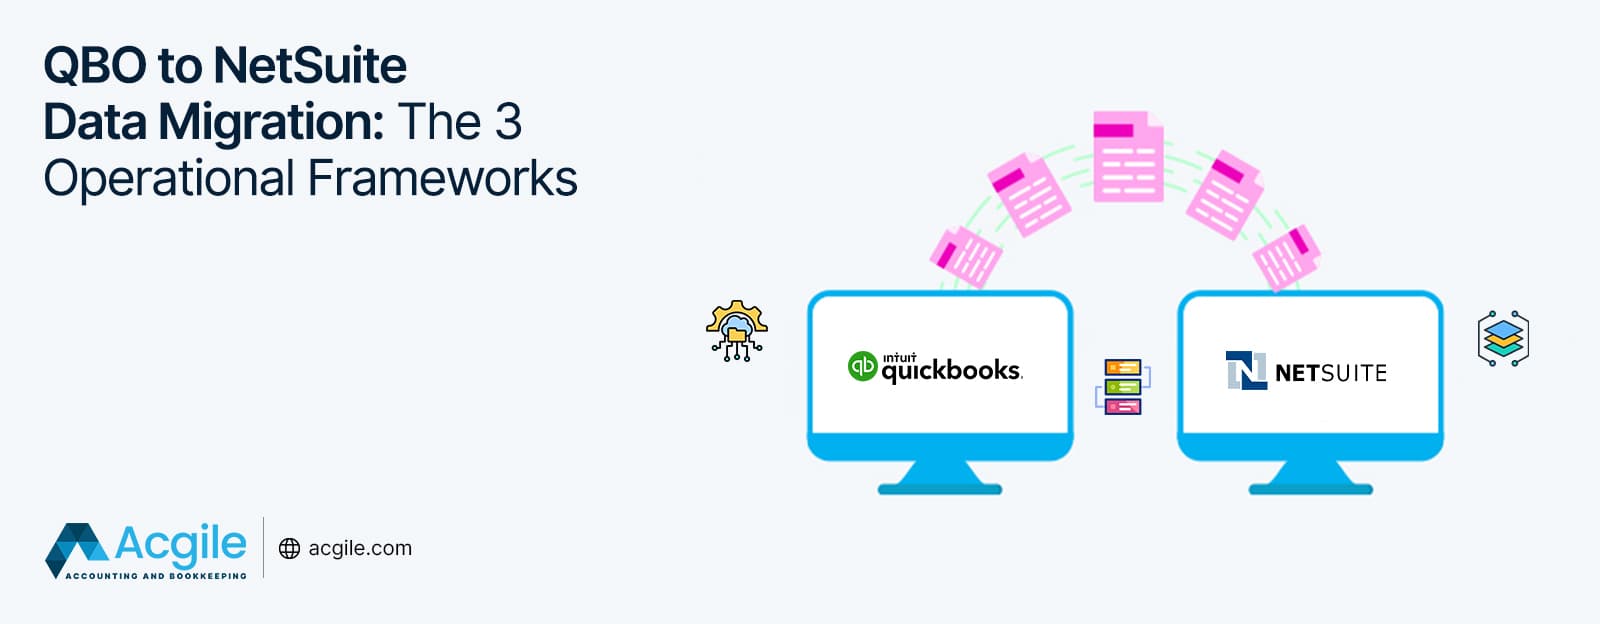
QBO to NetSuite Data Migration: The 3 Operational Frameworks
When transitioning from QuickBooks Online (QBO) to NetSuite, the single most critical, risk-heavy milestone is your financial data migration. Get it right, and your new ERP becomes a pristine single source of truth. Get it wrong, and you dump legacy data errors into a high-powered system, destroying user adoption and fracturing your financial reporting.
Every fast-growing brand must choose between two primary data migration models, with the historical route splitting into two distinct tactical execution paths. Before deciding which framework fits your operation, confirm your destination Chart of Accounts is architected correctly. Our companion piece, the QuickBooks to NetSuite COA Blueprint for CFOs, walks through the dimensional segments you will be migrating into. Read that first if you have not already.
Here is the architectural breakdown of how these three migration frameworks function, how the clearing account loops execute, and how to choose the right strategy for your organization.
1. The NetSuite Standard: Single-Point Data Migration
This is the methodology most strongly recommended by NetSuite’s implementation teams. Rather than dragging years of transactional baggage into your clean database, a single-point migration establishes a hard financial cutoff line. The client effectively starts fresh in the new environment from that date forward.
The Mechanics of the Clearing Account Loop
Let’s look at a real-world example using a cutoff date of 12/31/2025:
- The Core Import: We extract and move the complete QBO Trial Balance as of 12/31/2025 directly into NetSuite.
- The Sub-Ledger Challenge: For Accounts Receivable (AR) and Accounts Payable (AP) accounts, you cannot simply upload a flat number. You have open invoices and bills that will receive payments or require payouts post-go-live.
- The Clearing Execution: To handle this, we debit or credit a designated Data Migration Clearing Account on the general ledger.
- The Zeroing Factor: Next, we migrate the open historical invoices and bills individually from QBO to NetSuite. But instead of hitting your standard sales or expense accounts (which would double-count your revenue or costs), these transactions are mapped directly to hit the Data Migration Clearing Account.
This clean loop brings the clearing account exactly back to zero. Your AR and AP Aging reports reconcile perfectly, and your historical open invoices and bills populate precisely as they should, ready for native processing.
2. Historical Data Migration (With Opening Balances as Zero)
If your executive team or institutional investors demand full transactional history inside the new ERP from day one of the company’s inception, you must execute a full historical migration.
The Execution Strategy
In this framework, you do not use trial balance offsets to kickstart data levels. You start from the absolute genesis of the company’s financial records and systematically recreate every operational transaction in NetSuite using standard CSV imports.
There are no architectural shortcuts here; it requires rigorous, programmatic data engineering executed across a strict six-stage pipeline:
Extraction ──> Cleaning ──> Transformation ──> Imports ──> Validation ──> Documentation
- Extraction: Pulling every native line-item journal, invoice, receipt, and payment out of the legacy QBO database.
- Cleaning & Transformation: Stripping out historical duplicates, correcting legacy multi-currency anomalies, and physically re-mapping old linear accounts to match your new multi-segment dimensions (Class, Department, Location).
- Imports & Validation: Executing massive data loads, then validating that the resulting ledgers tie out to historical tax filings.
3. The Hybrid Cutoff: Historical Migration (With Opening Balances Not Zero)
This model represents the optimal middle ground for mid-market brands that have a lengthy operational history but only require a few years of deep, comparative transactional visibility inside NetSuite.
The Hybrid Mechanics
Imagine a brand that has been operational since 2015. The CFO determines that bringing over eleven years of messy legacy transactions is an inefficient use of budget, but they want full, granular transactional visibility from 2020 onwards for year-over-year operational analytics.
- Step 1: We execute a Single-Point Data Migration as of 12/31/2020 to establish our baseline opening balances, utilizing the clearing account framework to lock in the starting sub-ledgers.
- Step 2: From 01/01/2021 onwards, we run a full Historical Data Migration. Every individual invoice, sales order, item fulfillment, and customer payout is run through the rigorous ETL (Extract, Transform, Load) pipeline.
🛠️ The Acgile Engineering Protocol: The QBID-to-ExternalID API Protocol
Whether executing an open-balance import or a multi-year historical transfer, data integrity can break during the transition. If your partner relies solely on manual CSV name matching, tracking down validation errors becomes an expensive forensic nightmare.
To bypass this vulnerability entirely, our engineering team deploys a specific programmatic safeguard:
The API Mapping Protocol: We utilize custom API scripts to programmatically extract the unique database record ID (QBID) from every single original QBO transaction. When parsing and preparing this data for ingestion, we map and inject that exact QBID directly into NetSuite’s native External ID field.
Why This Protocol is Mandatory for Enterprise Audits
By establishing an immutable, 1:1 relational link between the two environments at the database level, we completely transform the post-migration lifecycle:
- Streamlined Tracking & Validation: During the loading phase, automated verification scripts compare the imported NetSuite External ID array against the source database logs to ensure zero dropped packets or missing records.
- Rapid Investigation: If a variance appears on your balance sheet post-go-live, your financial analysts don’t have to manually scan dates or match rounded dollar figures. They simply grab the NetSuite External ID, query it against your read-only QBO archive, and locate the exact source transaction in seconds.
- Defensible Audit Documentation: When your CPA firm conducts its first year-end financial audit post-migration, this mapping provides a clean, machine-readable digital paper trail that validates data continuity, cutting audit friction by weeks.
⛓️ The Standard Transaction Loading Sequence
To ensure that relational data integrity remains unbroken, transactions must be loaded into NetSuite in a strict, deterministic sequence. This guarantees that all record dependencies are resolved natively by the database architecture:
- Chart of Accounts: The structural general ledger foundation.
- Master Data: Active Customers, Vendors, Item Matrices, and Employees.
- Opening Balances: Established via single dated journal entries or opening balance fields.
- Sales Operations: Sales Orders, Invoices, Cash Sales, and Credit Memos.
- Accounts Receivable Fulfillment: Invoice Payments applied cleanly to specific source records.
- Purchase Operations: Purchase Orders, Bills, and Vendor Credits.
- Accounts Payable Fulfillment: Bill Payments applied directly to outstanding liabilities.
- Inventory & Secondary Ledgers: Item Receipts, Inventory Adjustments, and standalone Journal Entries.
📋 Defining the Boundaries: Project Scope Governance
An enterprise financial data migration is successful when the target system matches the source system down to the individual penny on every monthly report. To maintain clear timeline predictability, the following boundaries govern our standard deployments:
- Explicitly In-Scope: Raw data extraction, clearing account adjustments, master record deduplication, monthly Income Statement and Balance Sheet verification, and complete validation pack documentation.
- Explicitly Out-of-Scope: Target system software licenses, process redesign/workflow consulting, post-go-live operational bookkeeping, and custom development within NetSuite script fields. These optimizations can be accessed as separate specialized engagements.
Secure Budget Predictability for Your Migration
Data migration should never be handled via a “best-effort” hourly billing approach. It requires a rigid, milestone-based architectural scope that guarantees your system balances to the penny before your team executes cutover.
By prioritizing your historical ledger cleansing and deploying programmatic transaction linking before data loading begins, you preserve complete historical continuity, insulate your internal finance team from operational burnout, and present a risk-mitigated business case to your board of directors.
Unsure which data migration framework fits your current transactional volume?
Don’t guess on your database architecture. Schedule an Accounting Data Migration Review with our US Technical Team today. We will analyze your legacy QBO file depth and use our Data Migration Cost Calculator to provide a clear, formula-driven estimate matching your exact organizational parameters.